My son has recently taken an interest in boffing – mock warfare using foam weapons called boffers. We procured a coupe of boffer kits from Forged Foam which consisted of fiberglass rods, foam padding, and hilt rope. While the supplied material are of very good quality, unfortunately they do not provide instructions for assembly. I was able to find assembly descriptions at other sites, but one detail remained missing: what glue to use.
More than one web site suggested DAP glue, but it turns out that DAP makes many different types. We tried DAP Weldwood contact cement, but it was clearly too weak. We tried silicon rubber glue, but the foam started pulling away from the fiberglass core withing minutes of serious use.
Next, we tried some Gorilla Glue, which appears to do the trick – the bond is almost impossible to pull apart. Here are some details on assembly.
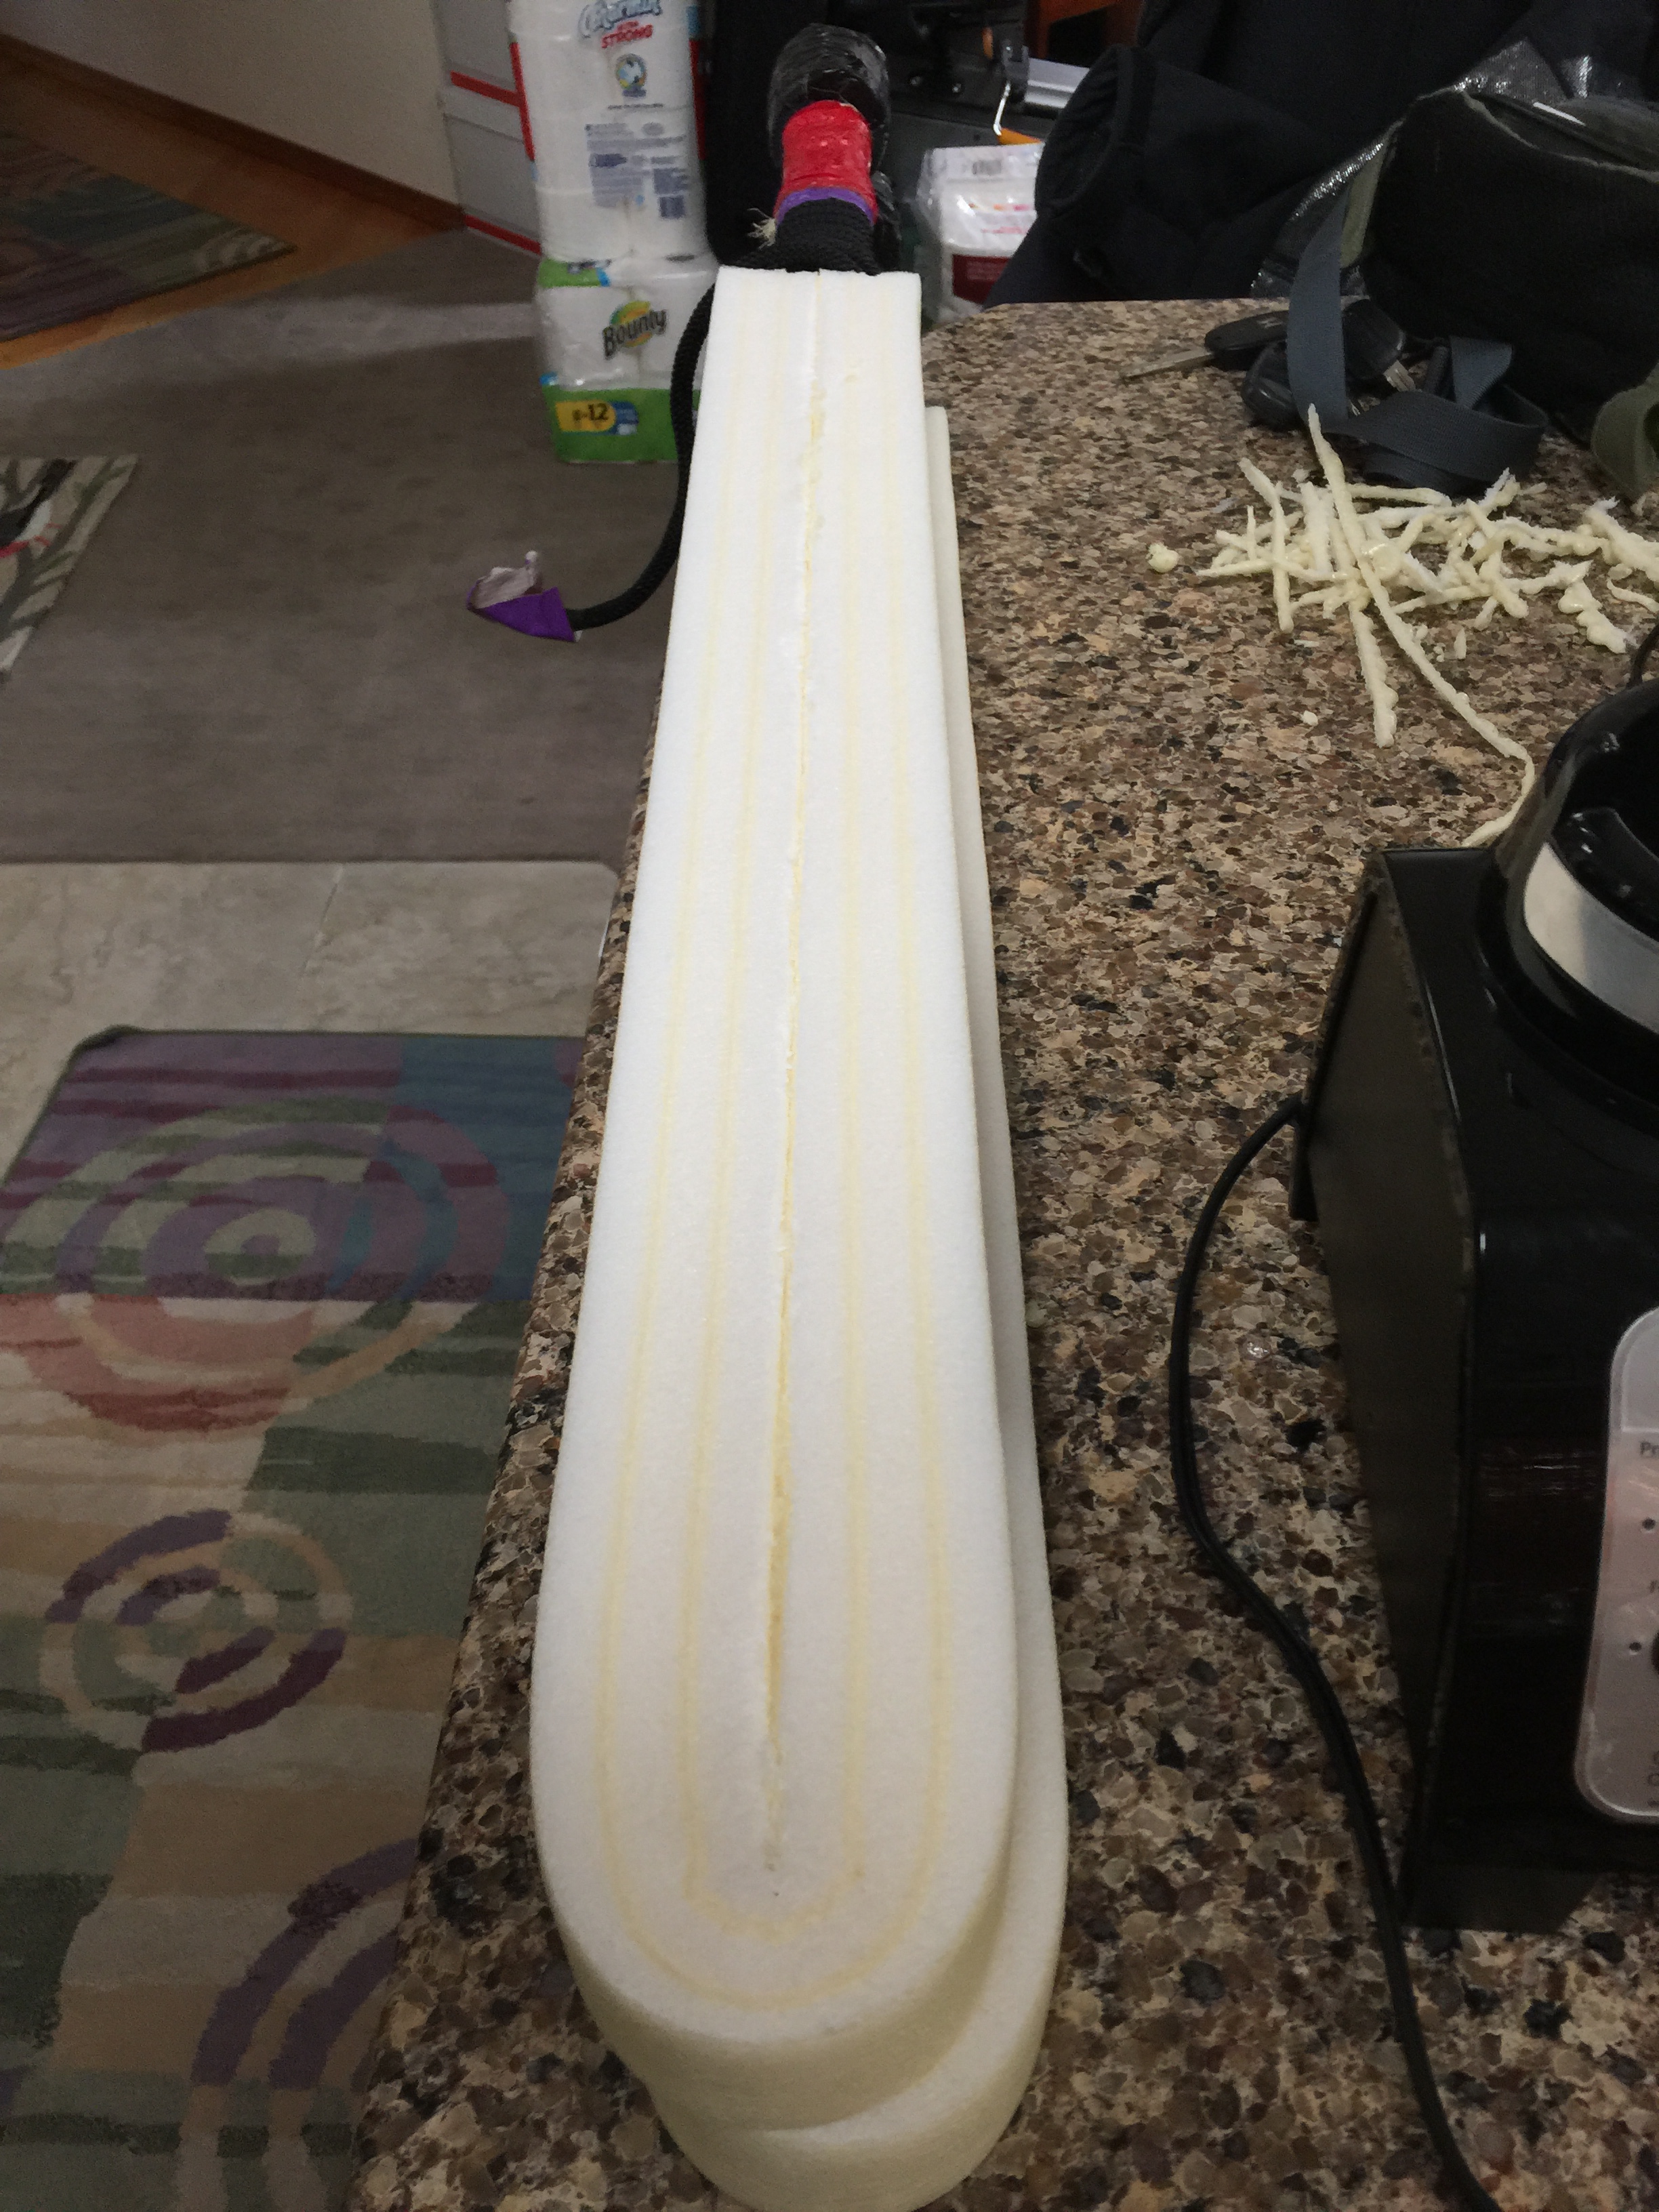
Following the Gorilla Glue instructions, we damped one surface of the foam, and then applied the glue to the damp surfaces. Because the foam wraps around the fiberglass core (see photos), we dampened and applied glue to the entire surface of half the foam, and then just the center channel of the other half of the foam.
We then wrapped the foam around the fiberglass core. We tried a couple different techniques to clamp the foam together. For one boffer, we clamped the foam directly using a large number of clamps:


On the second boffer, we clamped the foam sandwiched between two pieces of plywood:

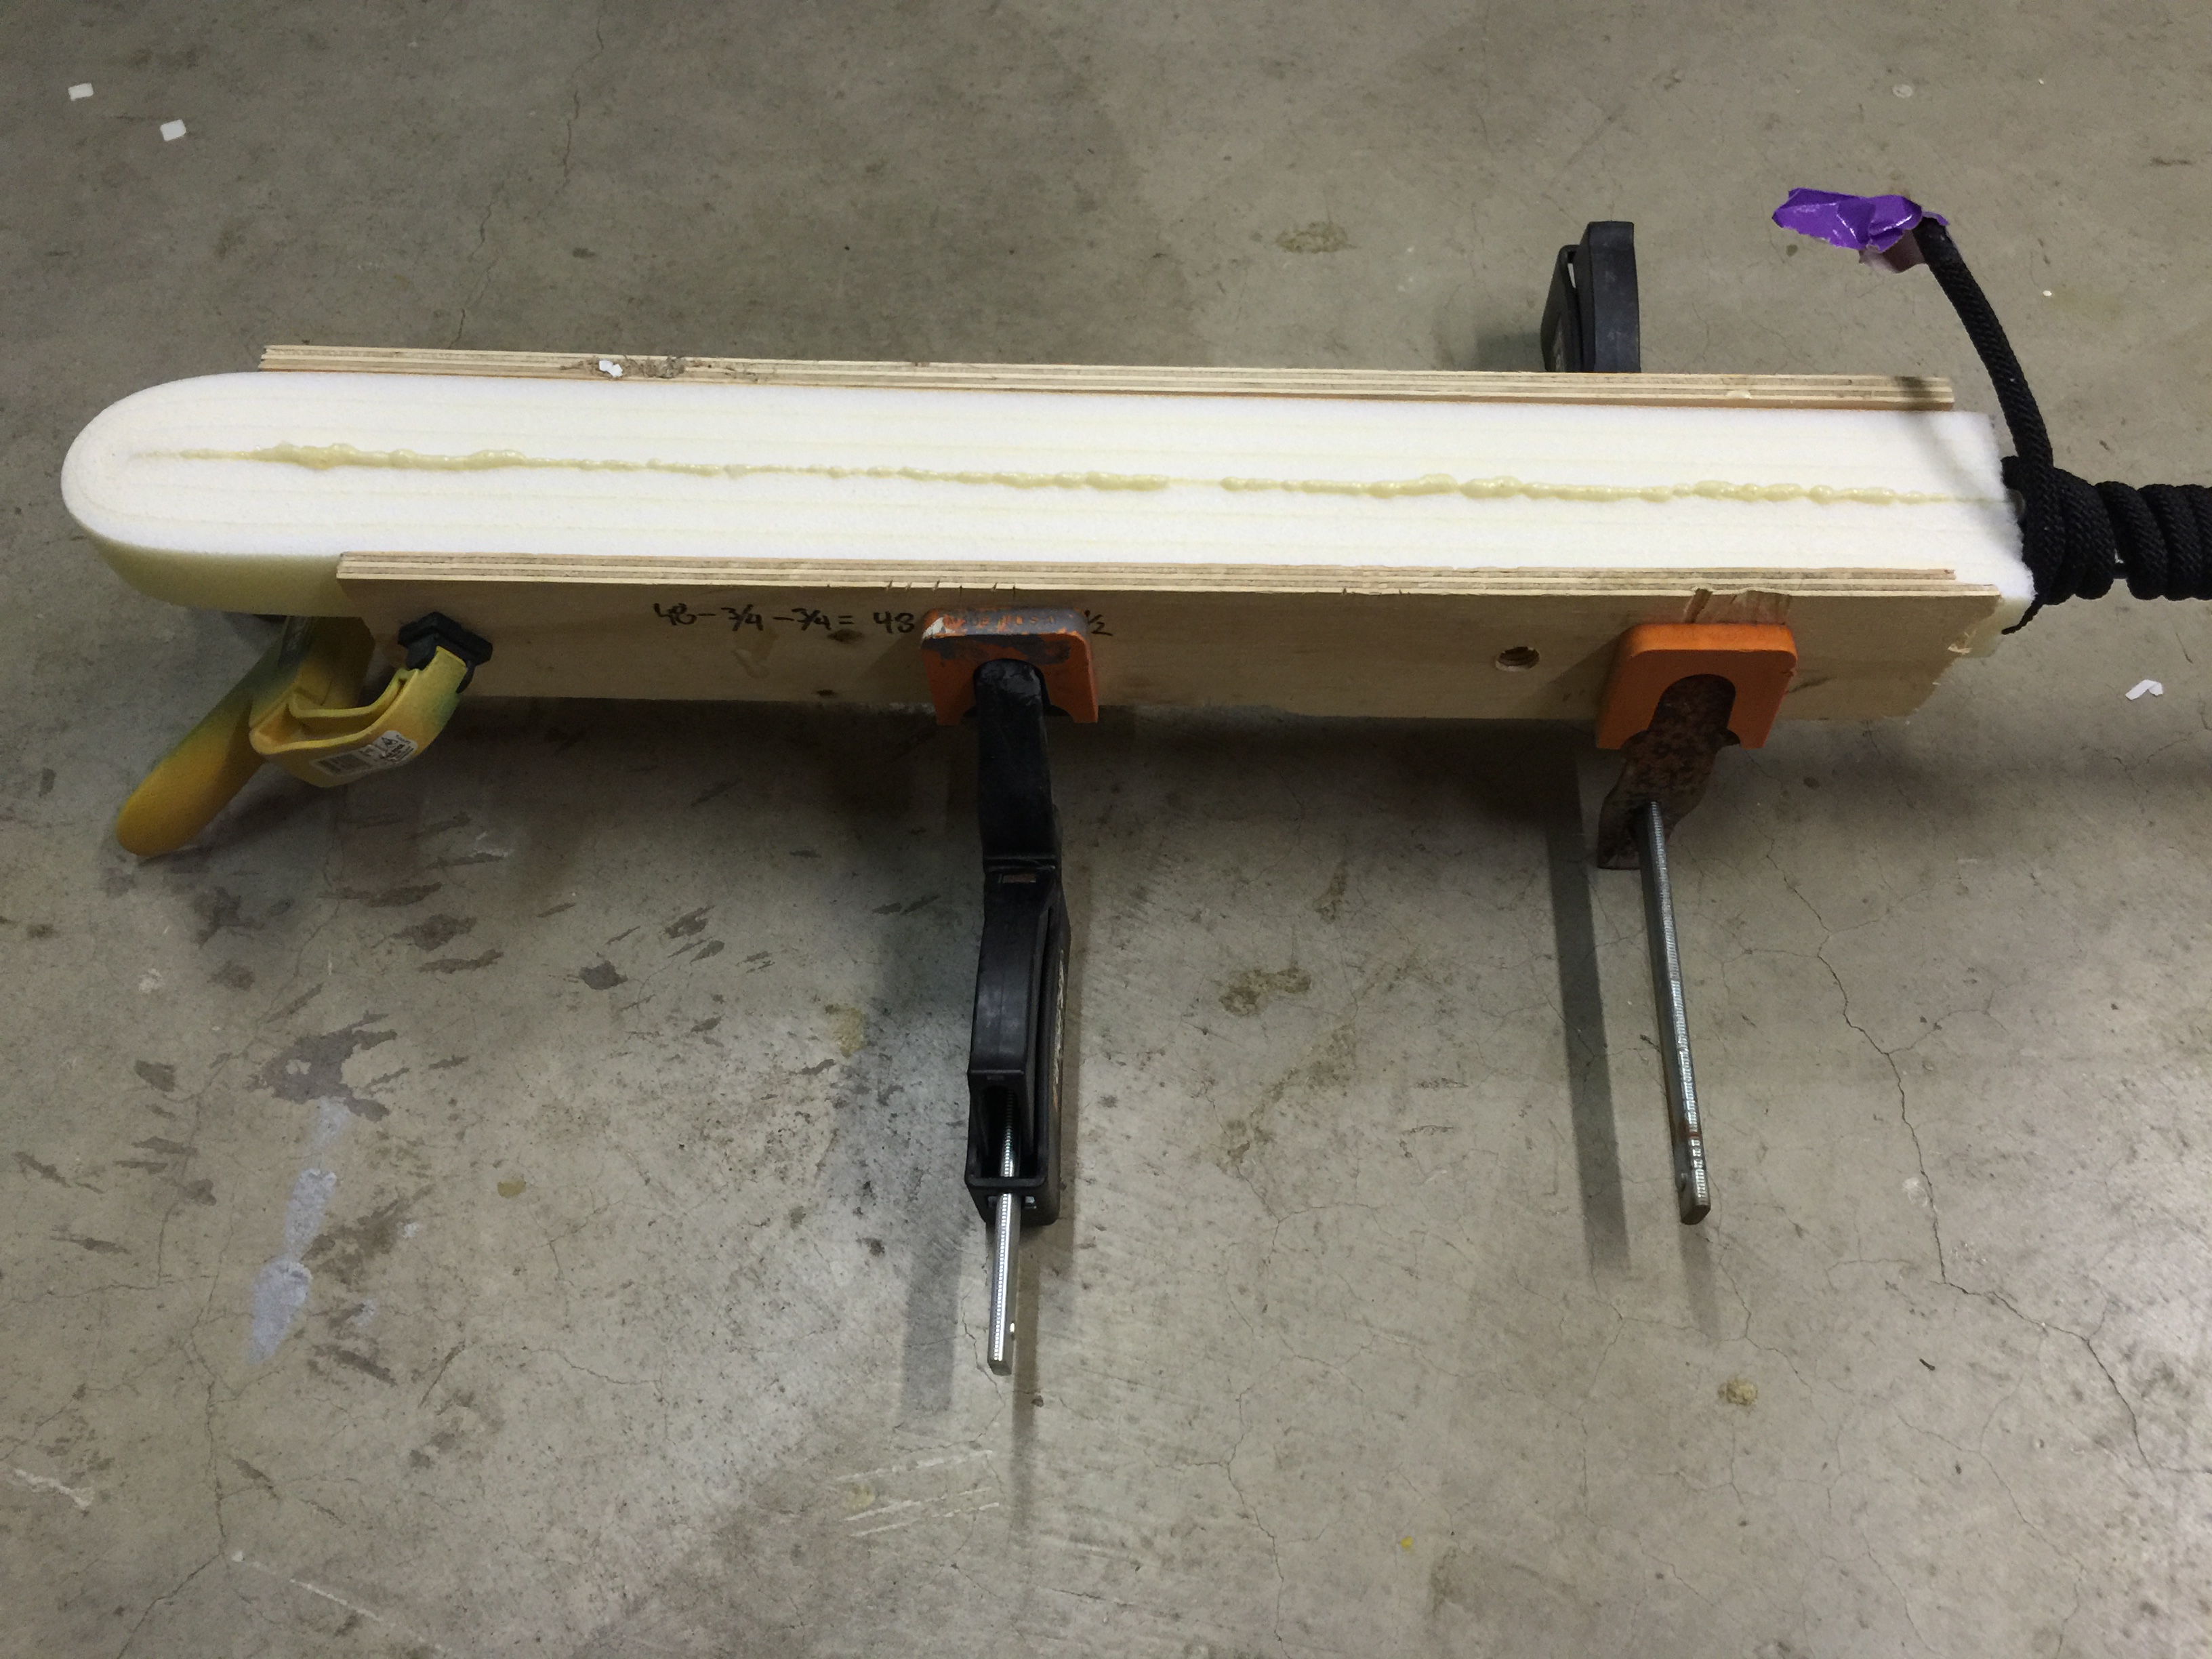
Both techniques worked equally well, but the second technique required fewer clamps.
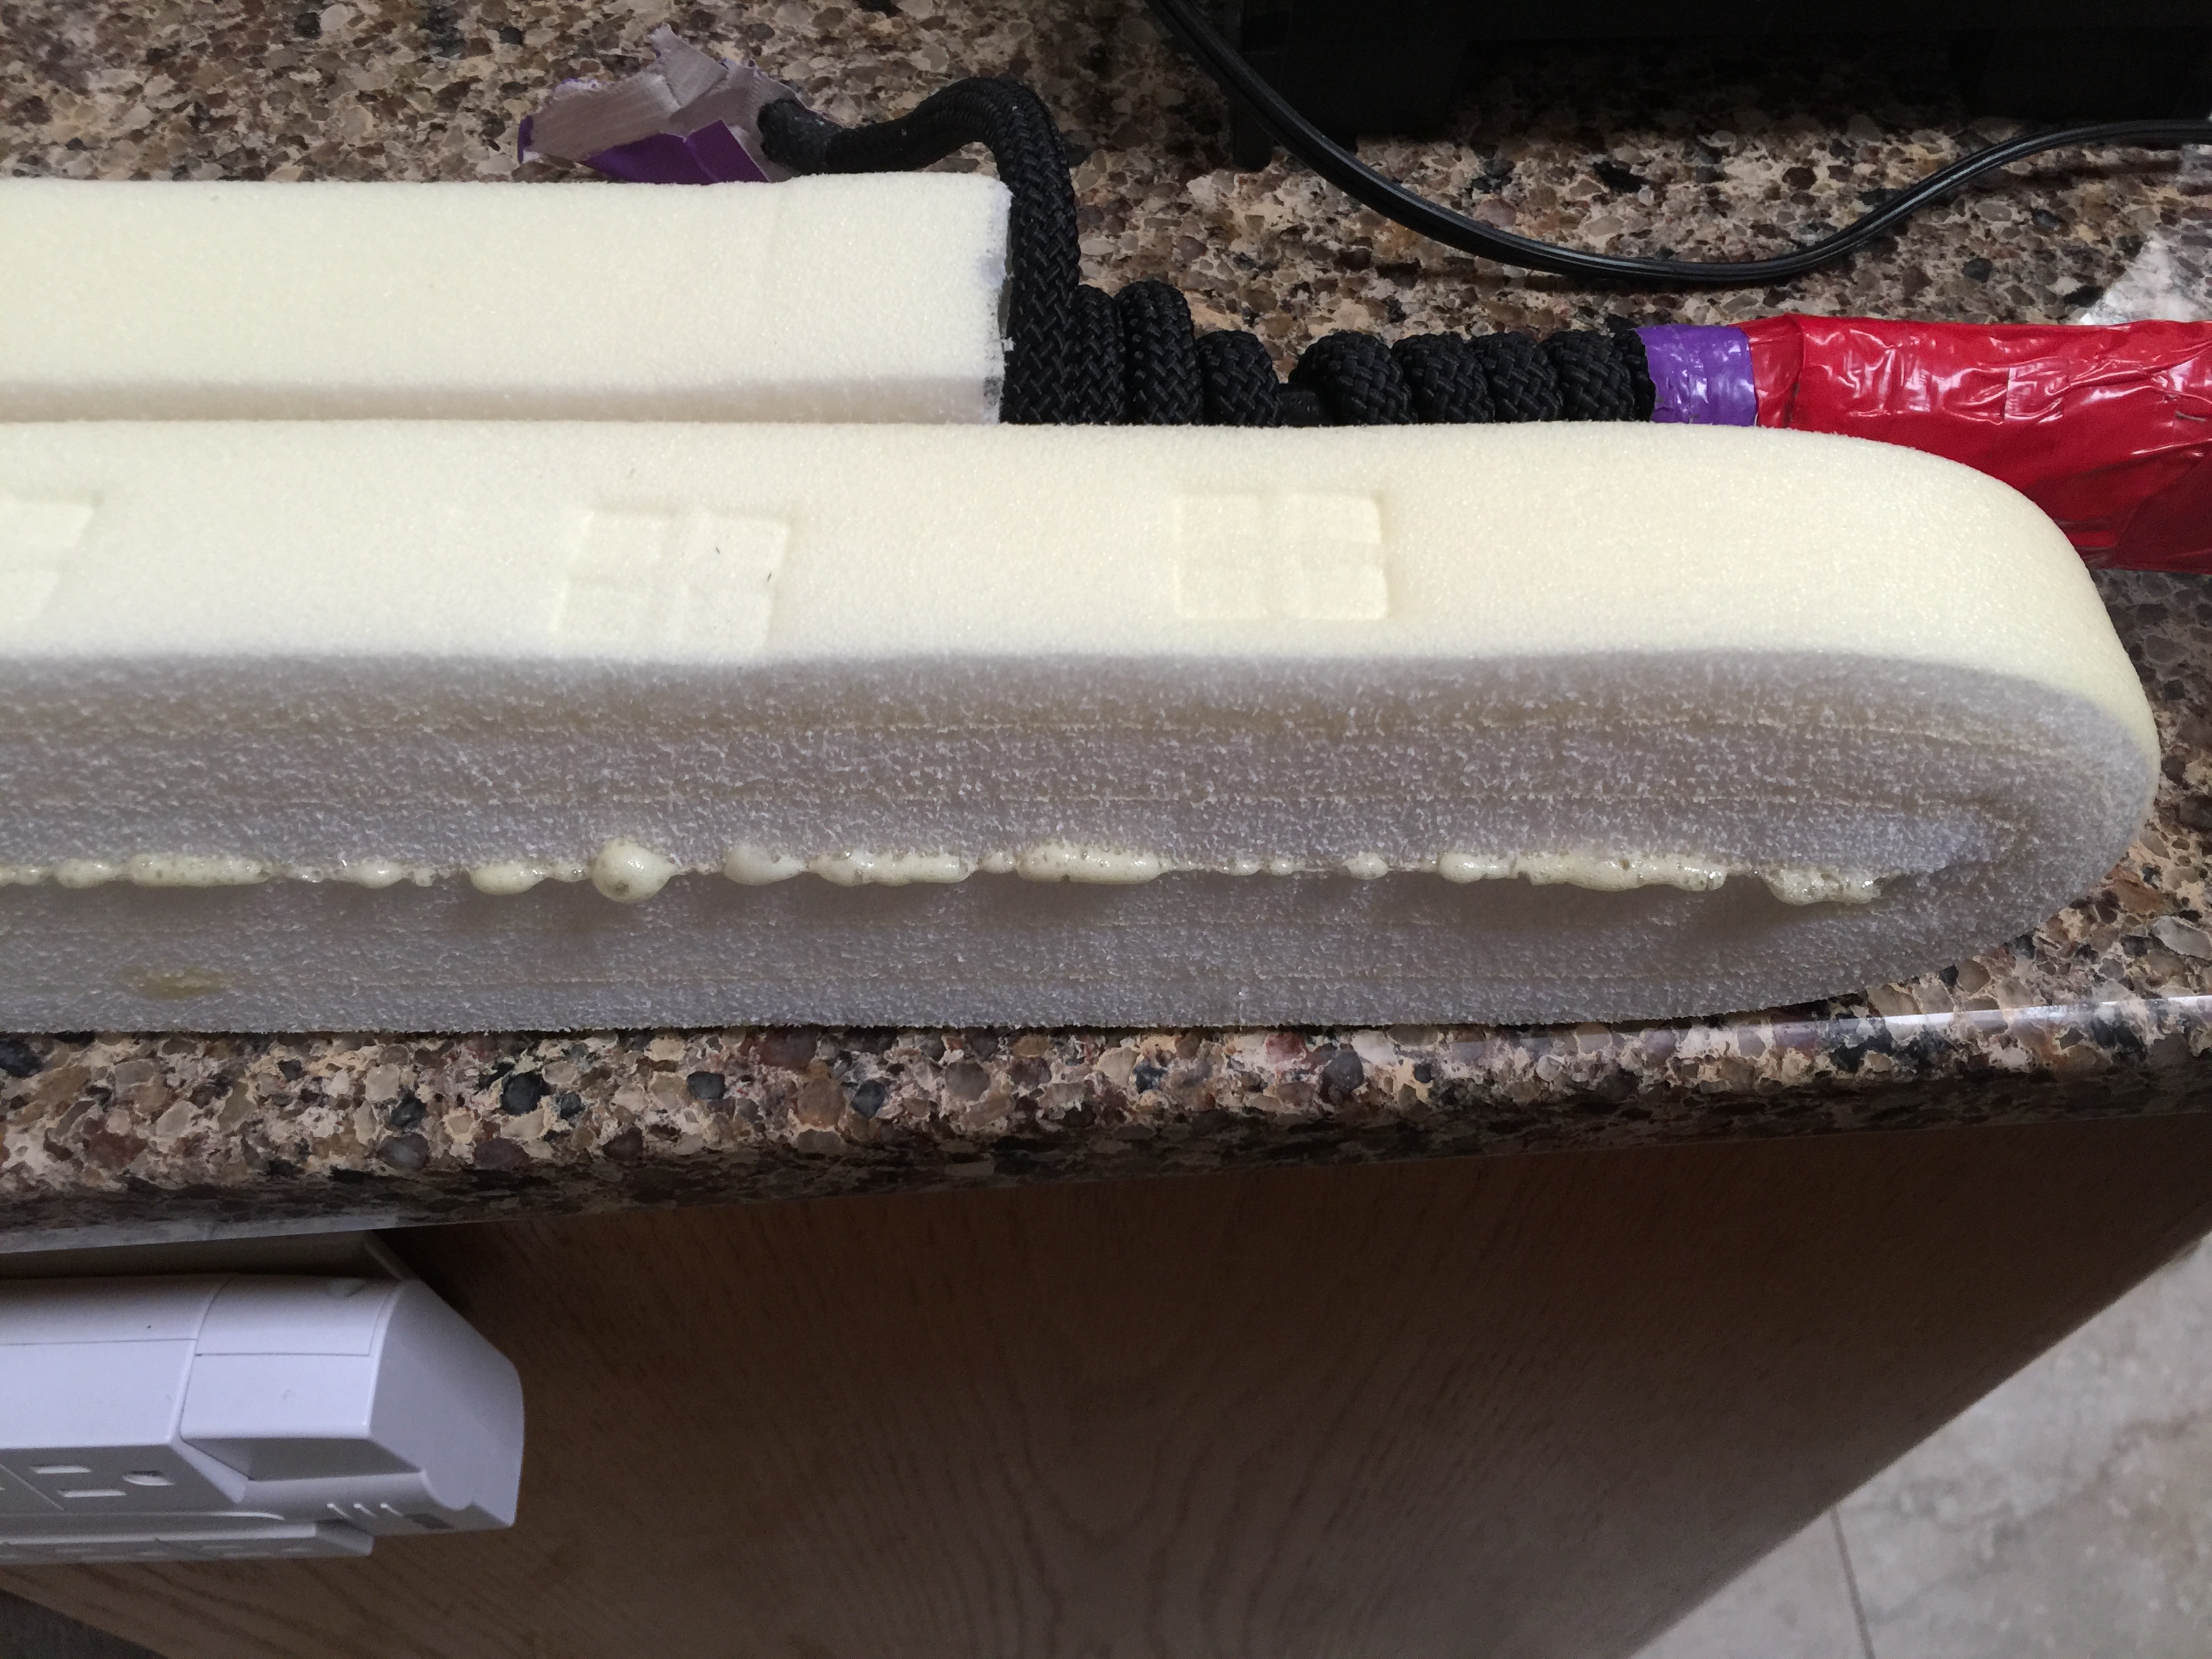
Gorilla Glue expands as it dries, and leaks out of the seams:
Once the glue was entirely dry (we waited about 18 hours), we trimmed off the expanded foam. To do so we used a box (AKA utility) knife. Here are the final results: